 Ghost Setup
How to Set Up Ghost CMS: A Complete Beginner’s Guide


Introduction
If you’re planning to start a blog, newsletter, or publication, Ghost CMS remains one of the best choices available — fast, minimalist, and built for creators. Unlike bloated systems like WordPress, Ghost is purpose-built for publishing and monetisation.
In this guide, you’ll learn how to set up Ghost CMS using Ghost(Pro) (the official managed service) and connect it to your root domain via Cloudflare — step by step.
By the end, your site will be live on your custom domain, secured with SSL, and optimised for speed and professional credibility.
Before You Begin
Before starting, make sure you have the following ready:
- 🟢 A domain name you own (e.g.
yourdomain.com) - 🟣 A Ghost(Pro) account — sign up here if you haven’t yet
- 🟠 A Cloudflare account with your domain added
- 🔵 Access to your domain registrar (e.g. Namecheap, GoDaddy, Google Domains)
- 🧠 15–20 minutes of focused time
Step 1: Create Your Ghost(Pro) Account
Ghost(Pro) is the official managed hosting service provided by the Ghost Foundation. It removes the need for manual server setup or terminal commands.
- Go to https://ghost.org
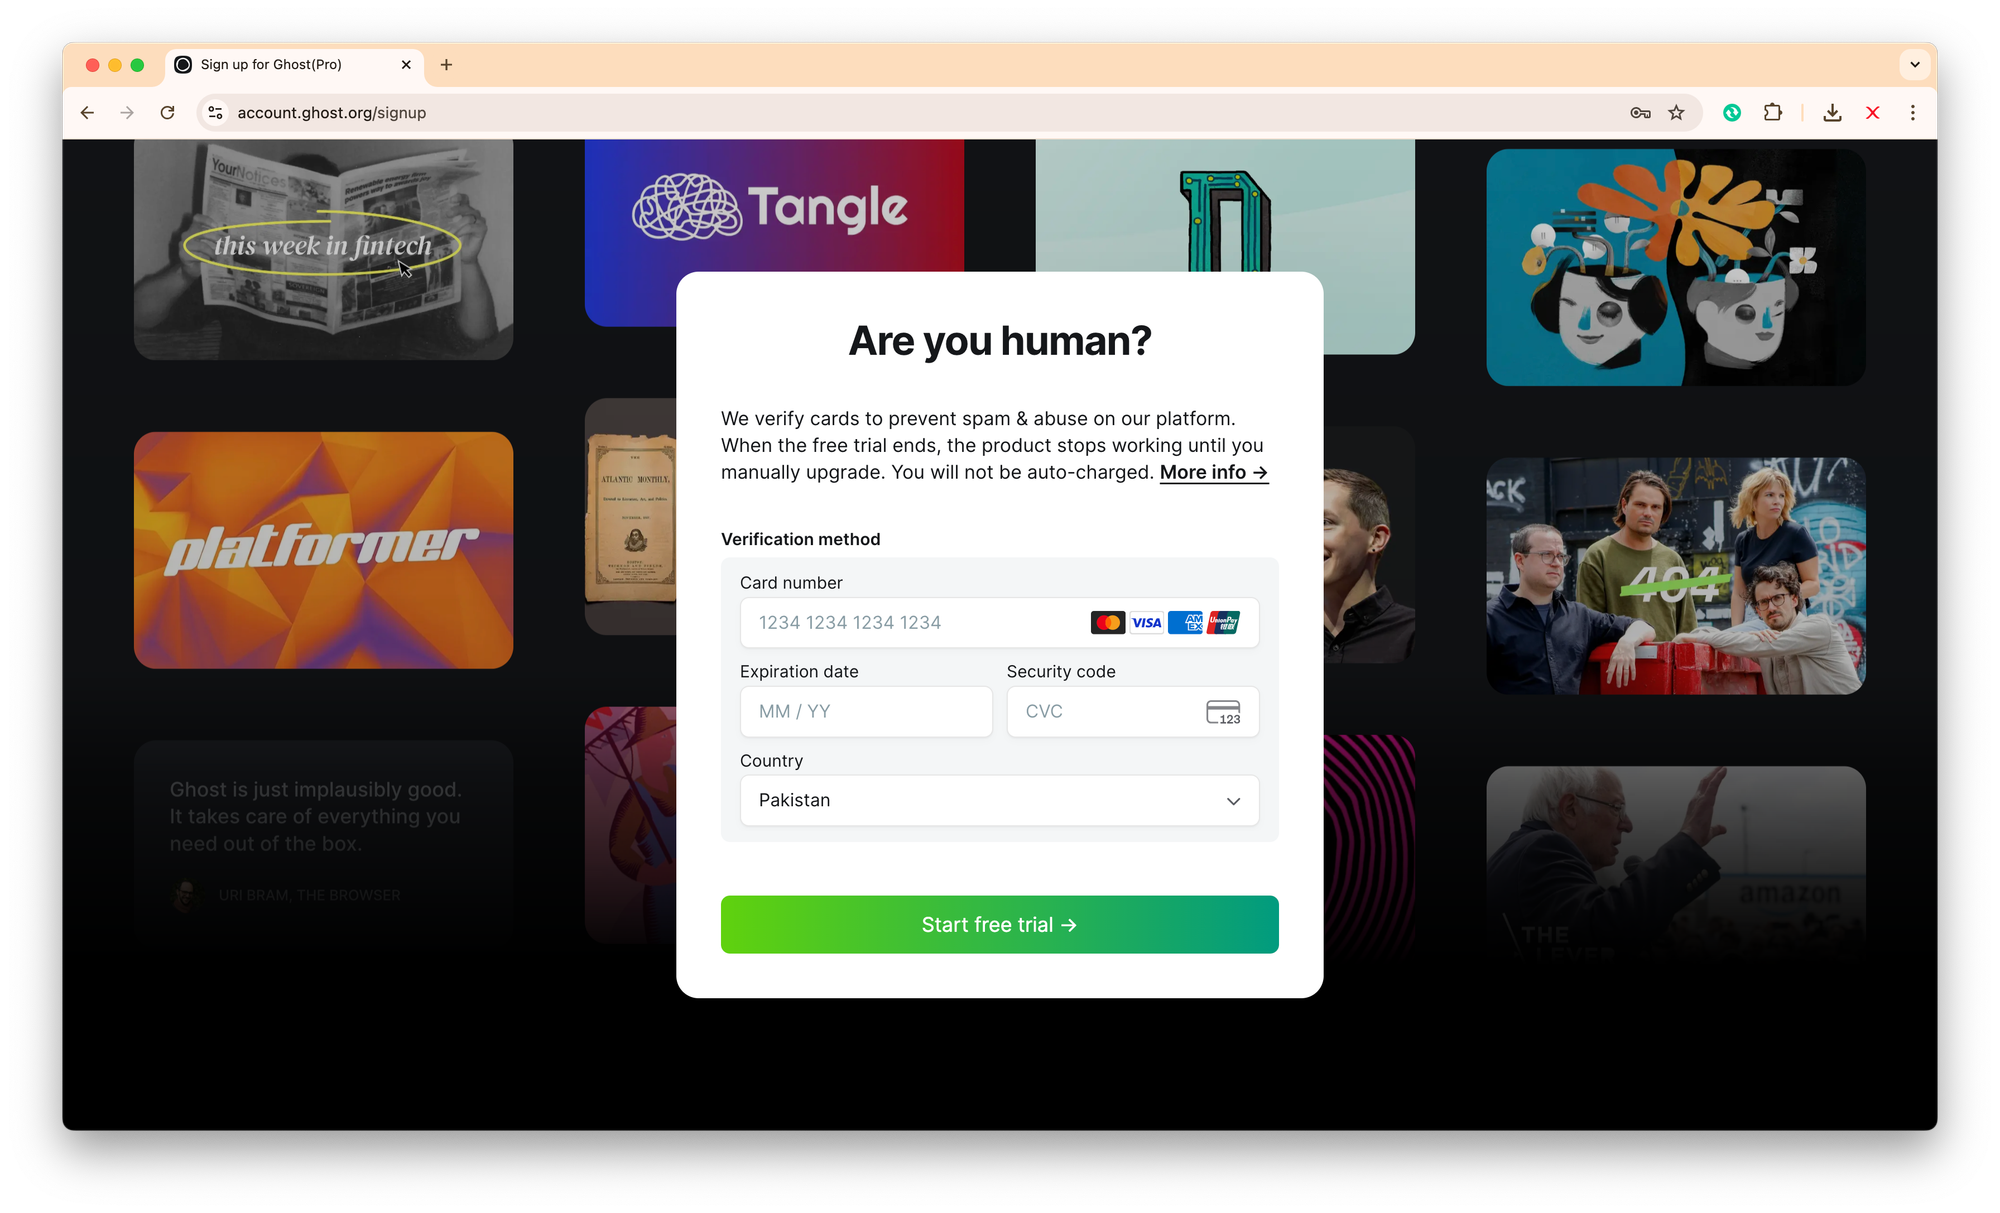
- Click Get Started - free and sign up using your email to avail the free trial.
- Enter your details,

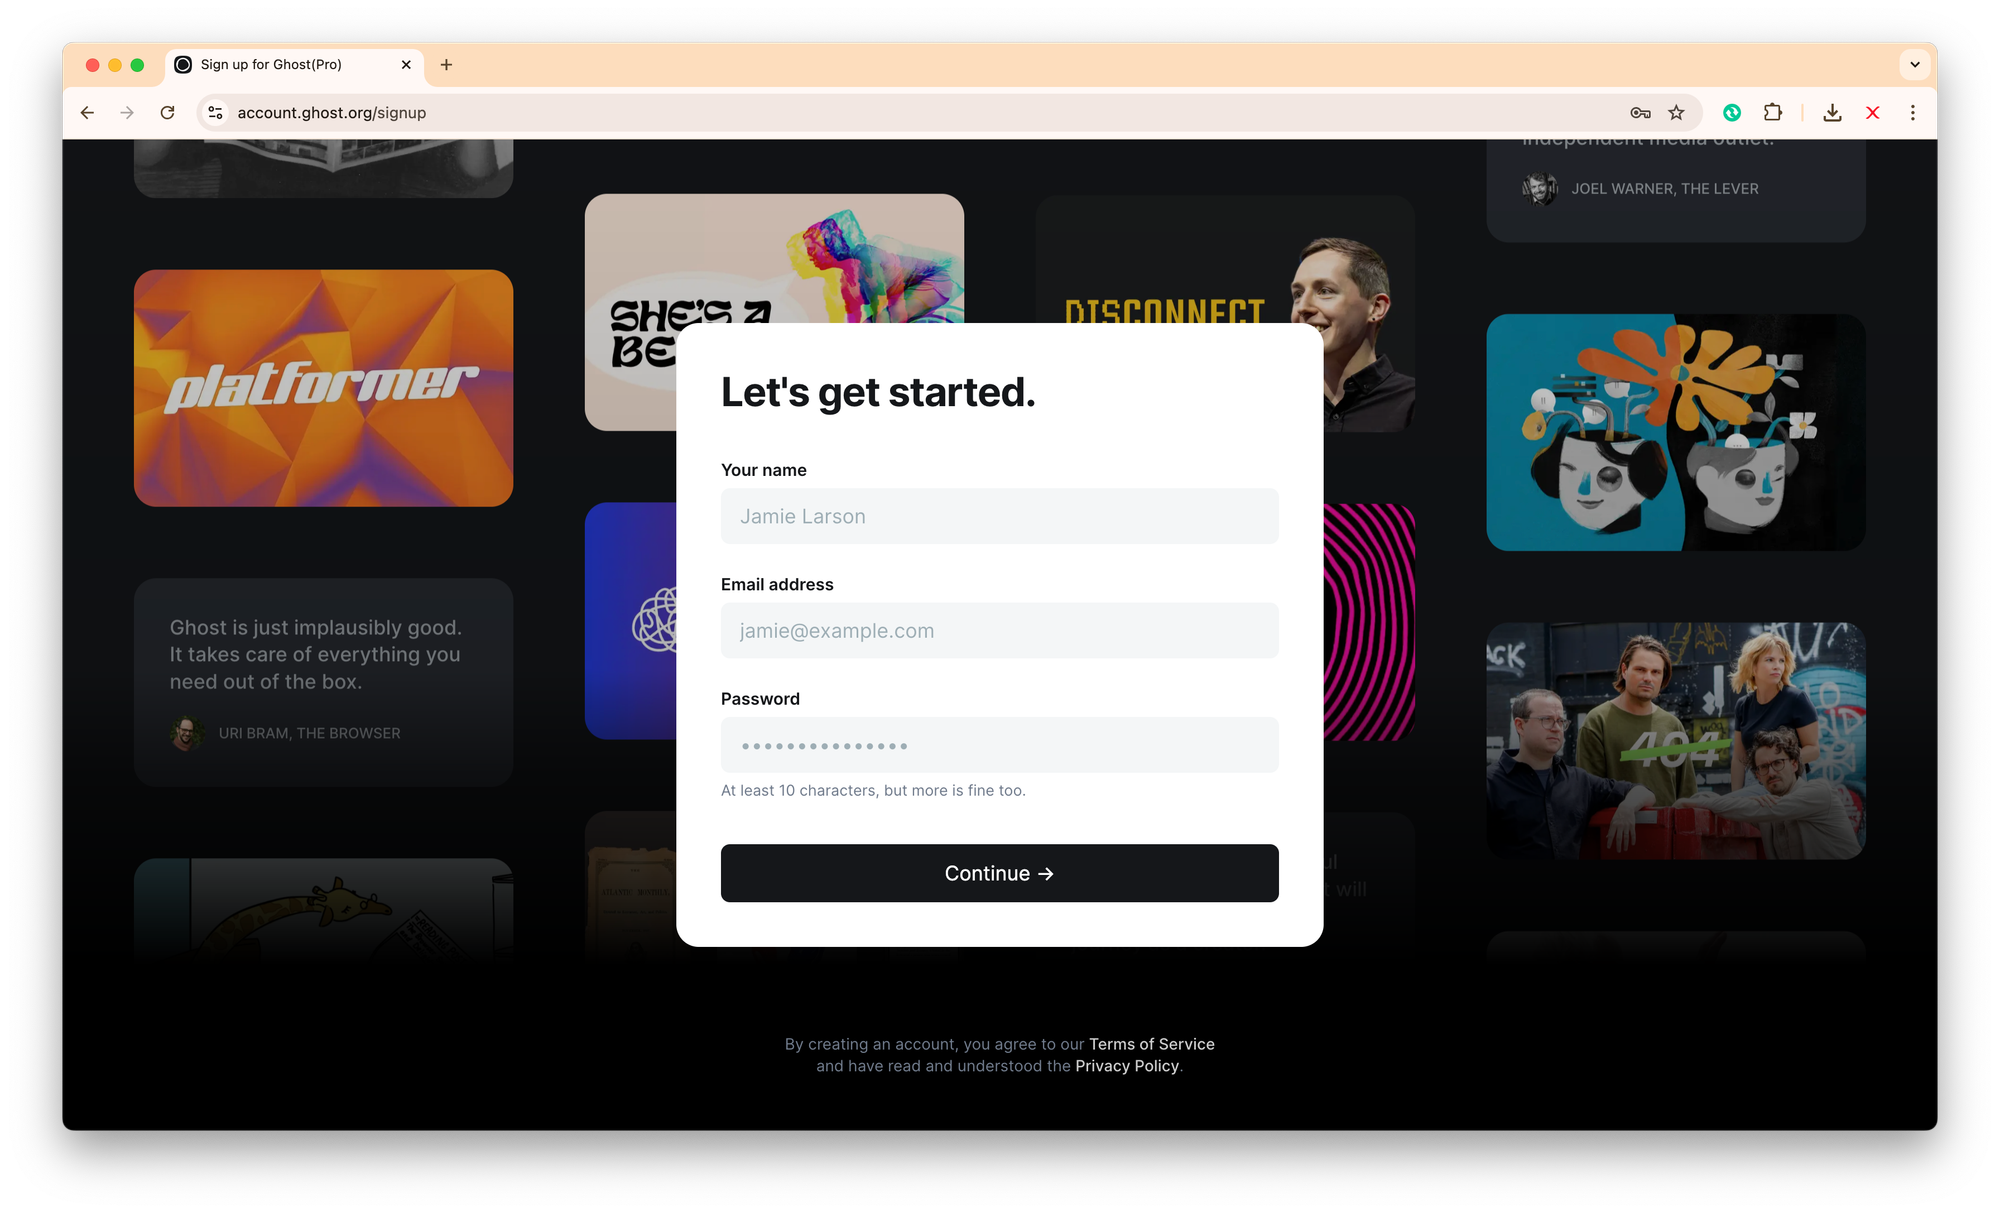

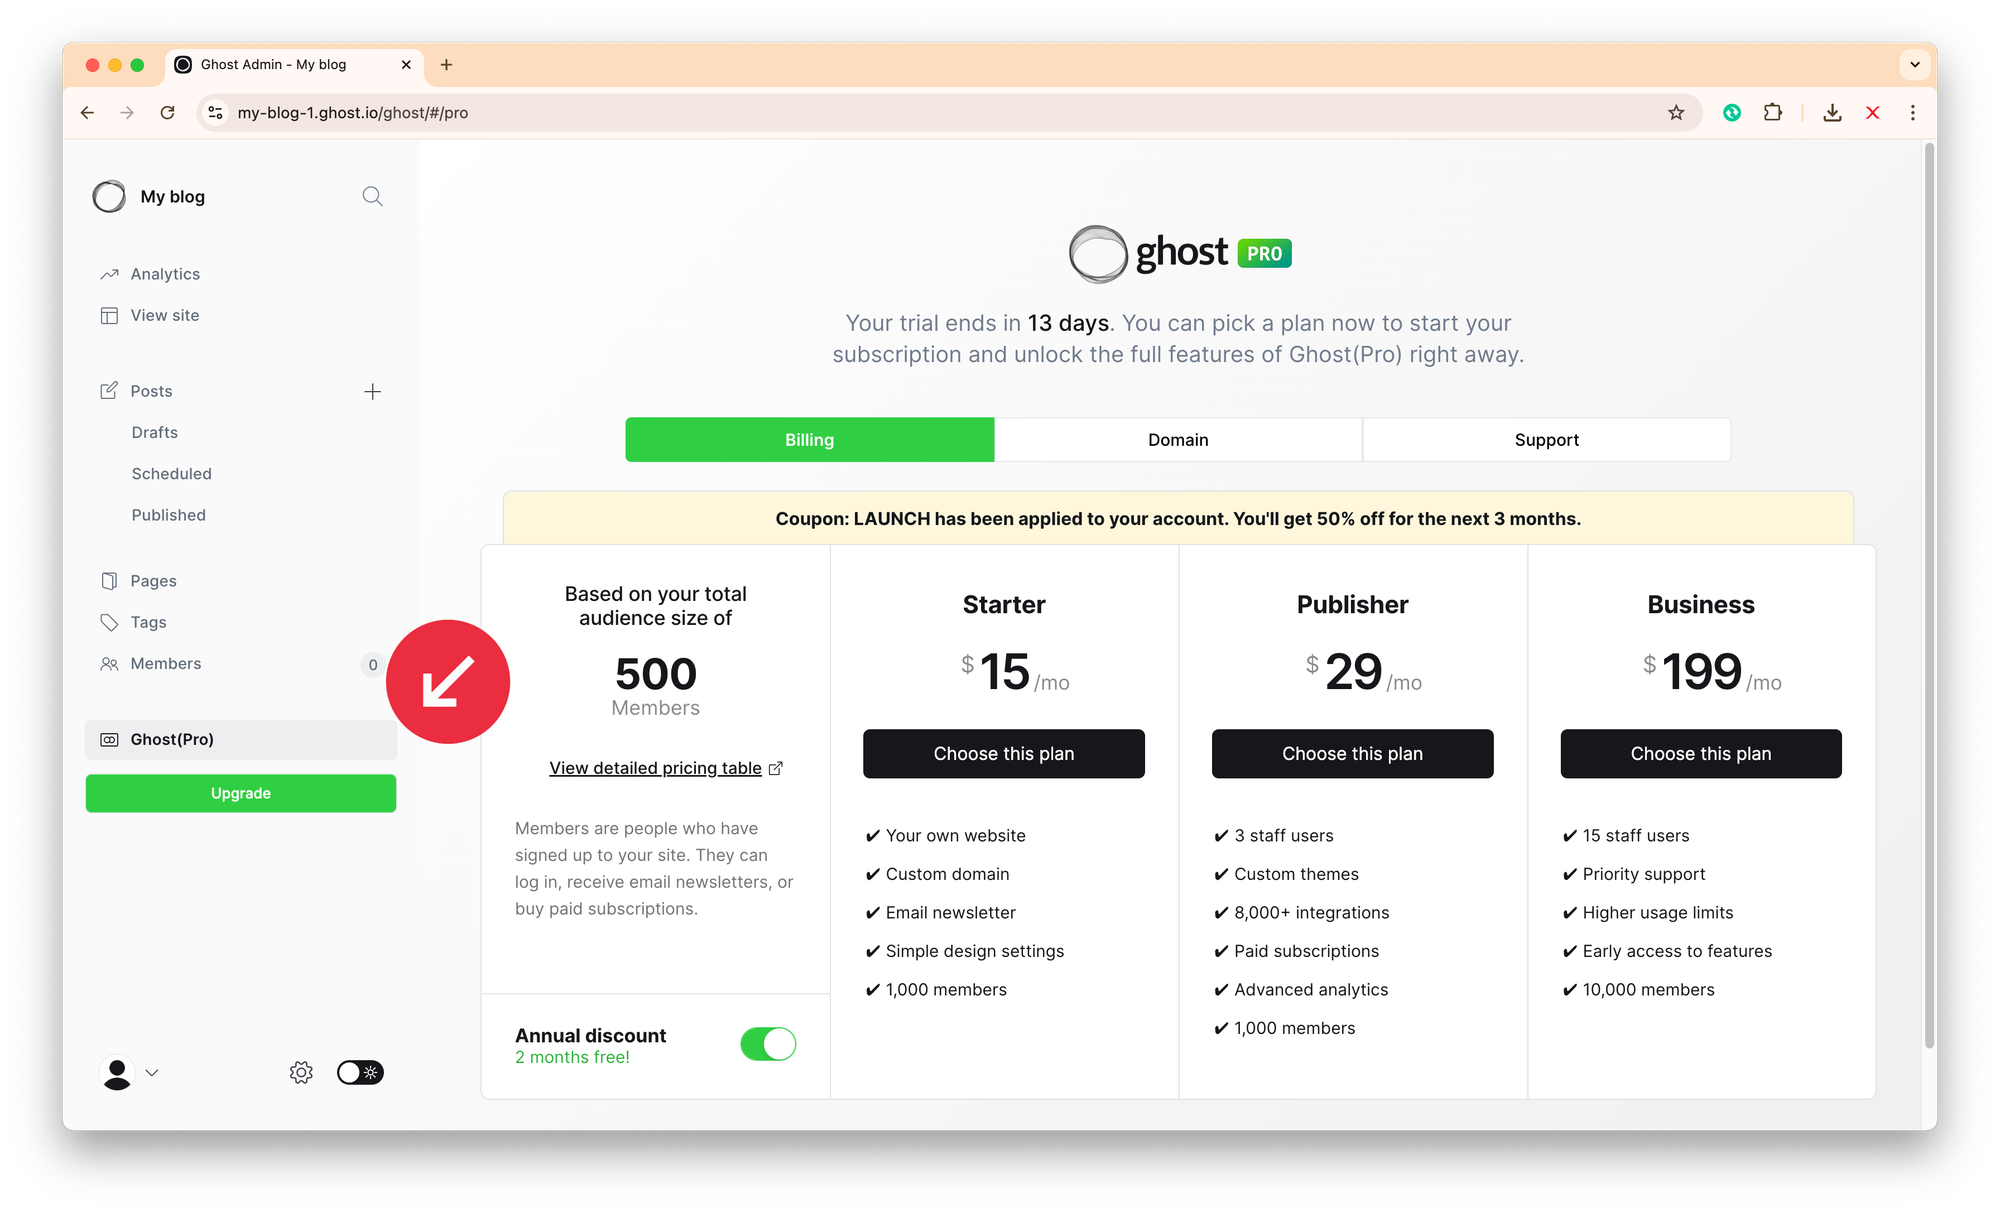
- Once your trial site is ready, Ghost will create a temporary subdomain — something like
my-blog-1.ghost.io.
Step 2: Set Up Your Custom Domain on Cloudflare
Cloudflare acts as both your DNS manager and content delivery network (CDN). This ensures your Ghost site loads quickly and securely across the globe.
- Log in to your Cloudflare Dashboard.
- Click Add a Site, then enter your domain (e.g.
yourdomain.com). - Choose the Free plan (enough for most Ghost sites).
- Cloudflare will scan your existing DNS records — click Continue.
- Update your nameservers at your registrar to Cloudflare’s provided ones.
Step 3: Connect Your Root Domain to Ghost(Pro)
Once Cloudflare is active on your domain, you can connect it to your Ghost site.
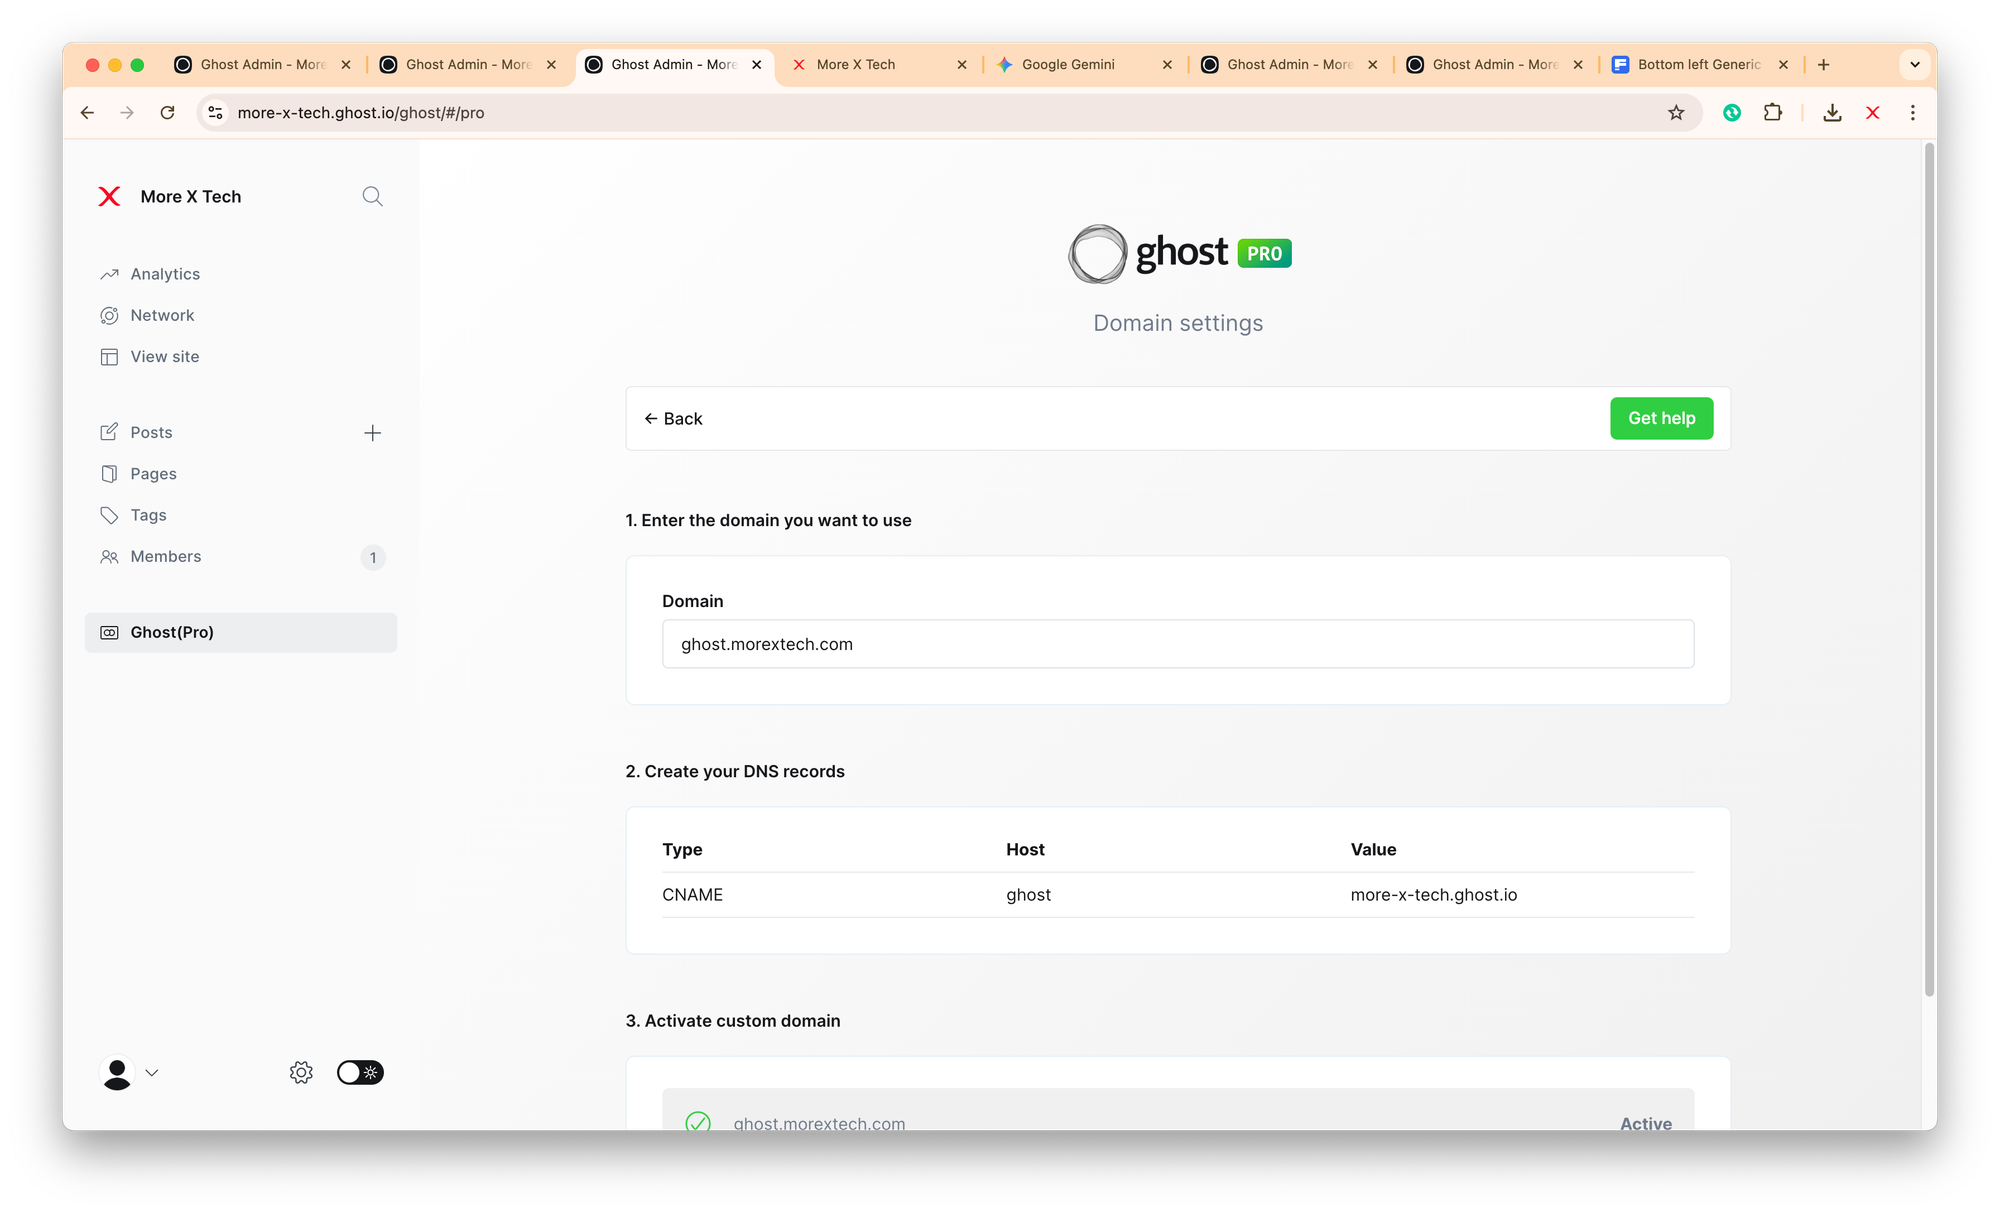
- In Ghost’s admin panel, go to Ghost(Pro) → Domain → Custom Domain.
- Enter your root domain (e.g.
yourdomain.com) and click Save. - Ghost will display the required DNS records — usually two A records:
@→ points to Ghost’s IP address (something like138.68.xxx.xxx)www→ a CNAME record pointing to your Ghost subdomain (e.g.yourname.ghost.io)
- Go back to Cloudflare → DNS and add these records:
- Type: A
Name:@
Value: Ghost’s IP address (as shown in your Ghost dashboard)
Proxy status: DNS only (grey cloud ✅) - Type: CNAME
Name:wwwfor root domain orblogfor 'blog' subdomain (i.e. blog.mydomain.com)
(depending on what you want to use)
Target:yourname.ghost.io
Proxy status: DNS only (grey cloud ✅)
- Type: A
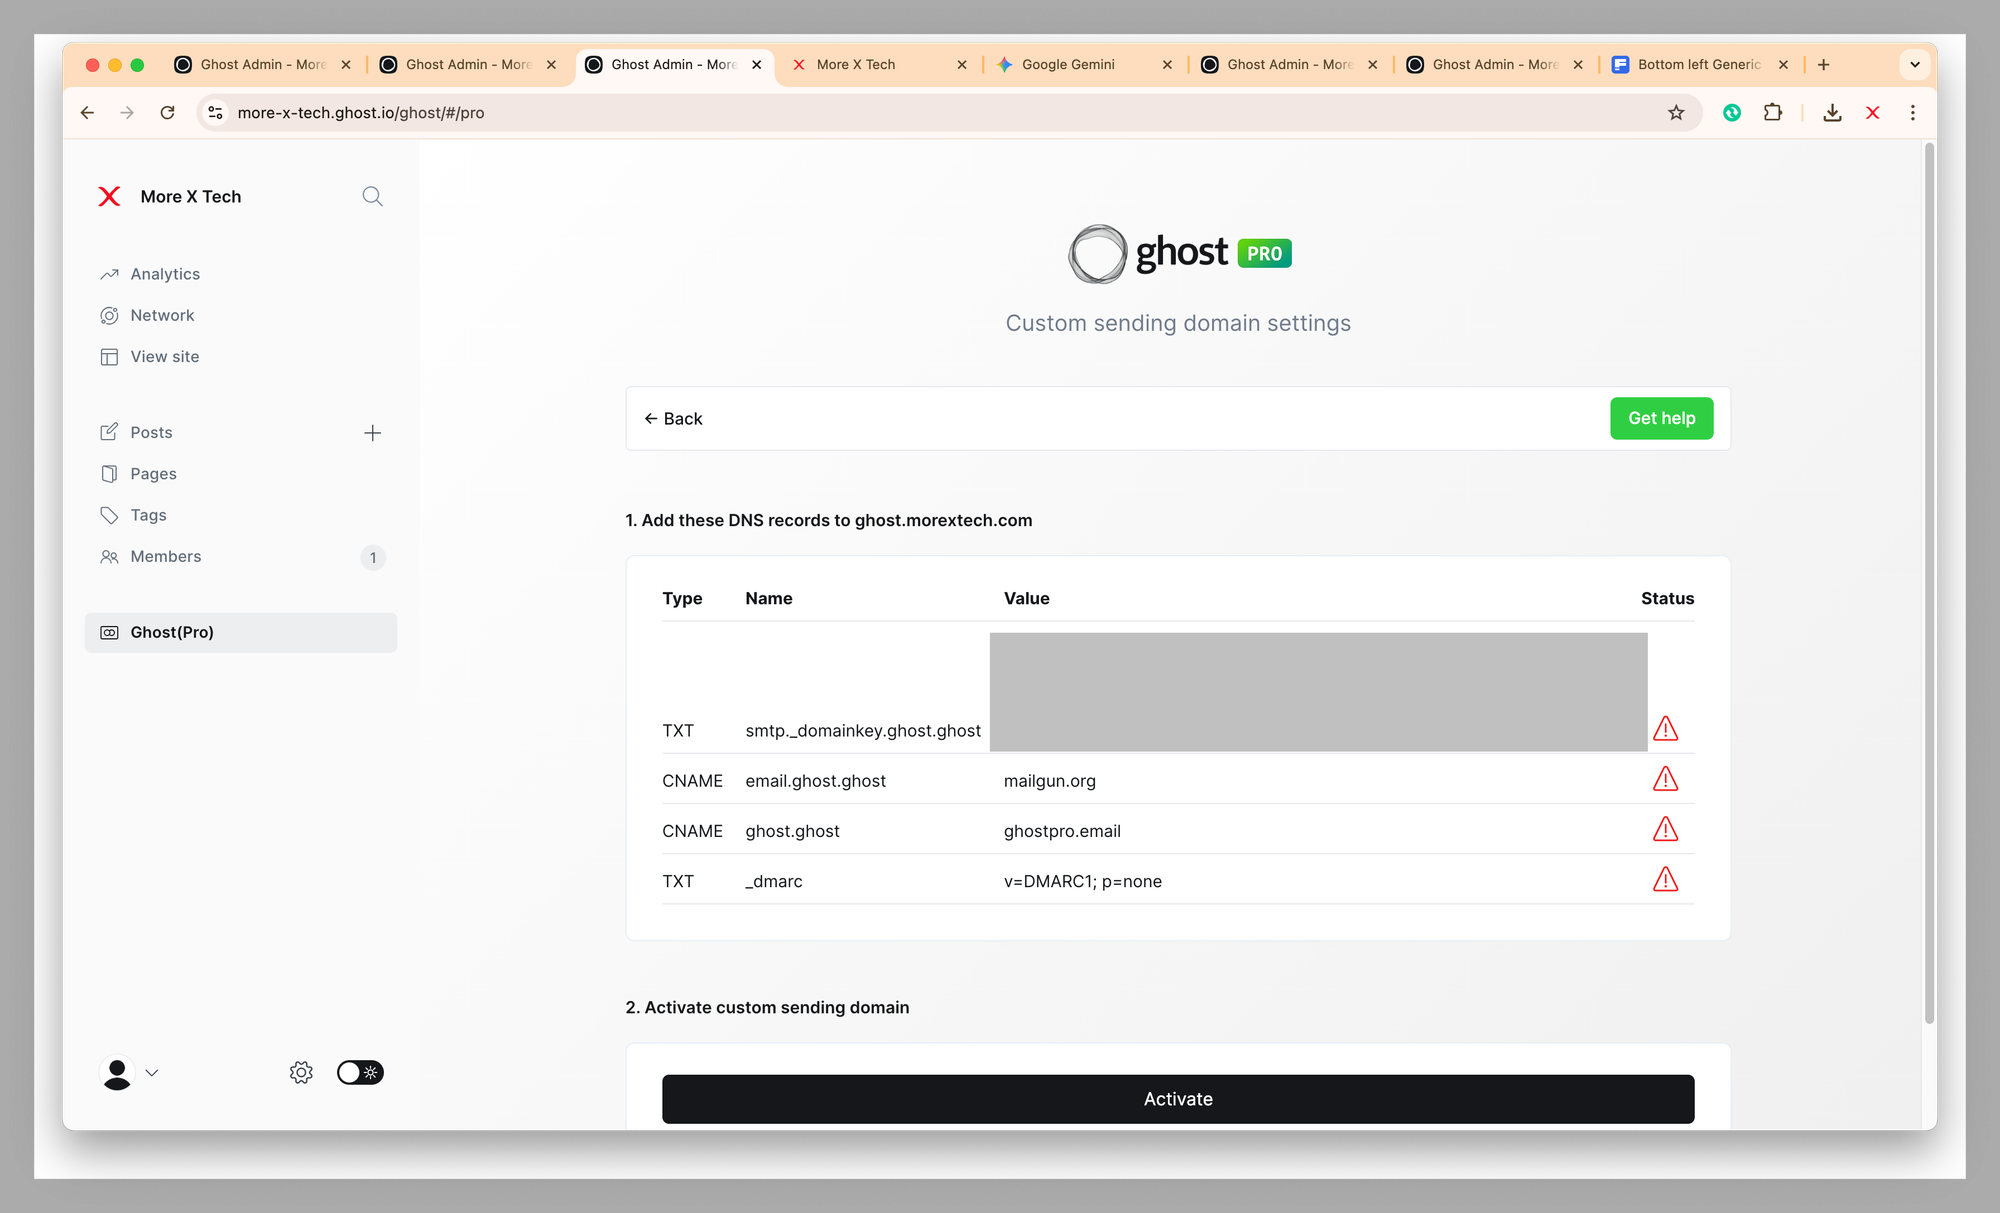
- Set your sending domain to set up mail sender.

Wait for DNS changes to propagate. Once active, Ghost will automatically issue an SSL certificate for your domain.
Step 4: Test and Verify Your Domain Connection
To confirm everything is set up correctly:
- Visit your root domain (
https://yourdomain.com). - You should see your Ghost site live, automatically replacing the
.ghost.iosubdomain effectively in the browser. - You will still log in to your Ghost admin panel using (
https://yourdomain.com/ghost) to manage posts and settings.
If your site isn’t loading:
- Check that DNS records are DNS only (grey cloud) in Cloudflare.
- Verify that your nameservers match Cloudflare’s.
- Wait a few minutes — DNS caching can cause delays.
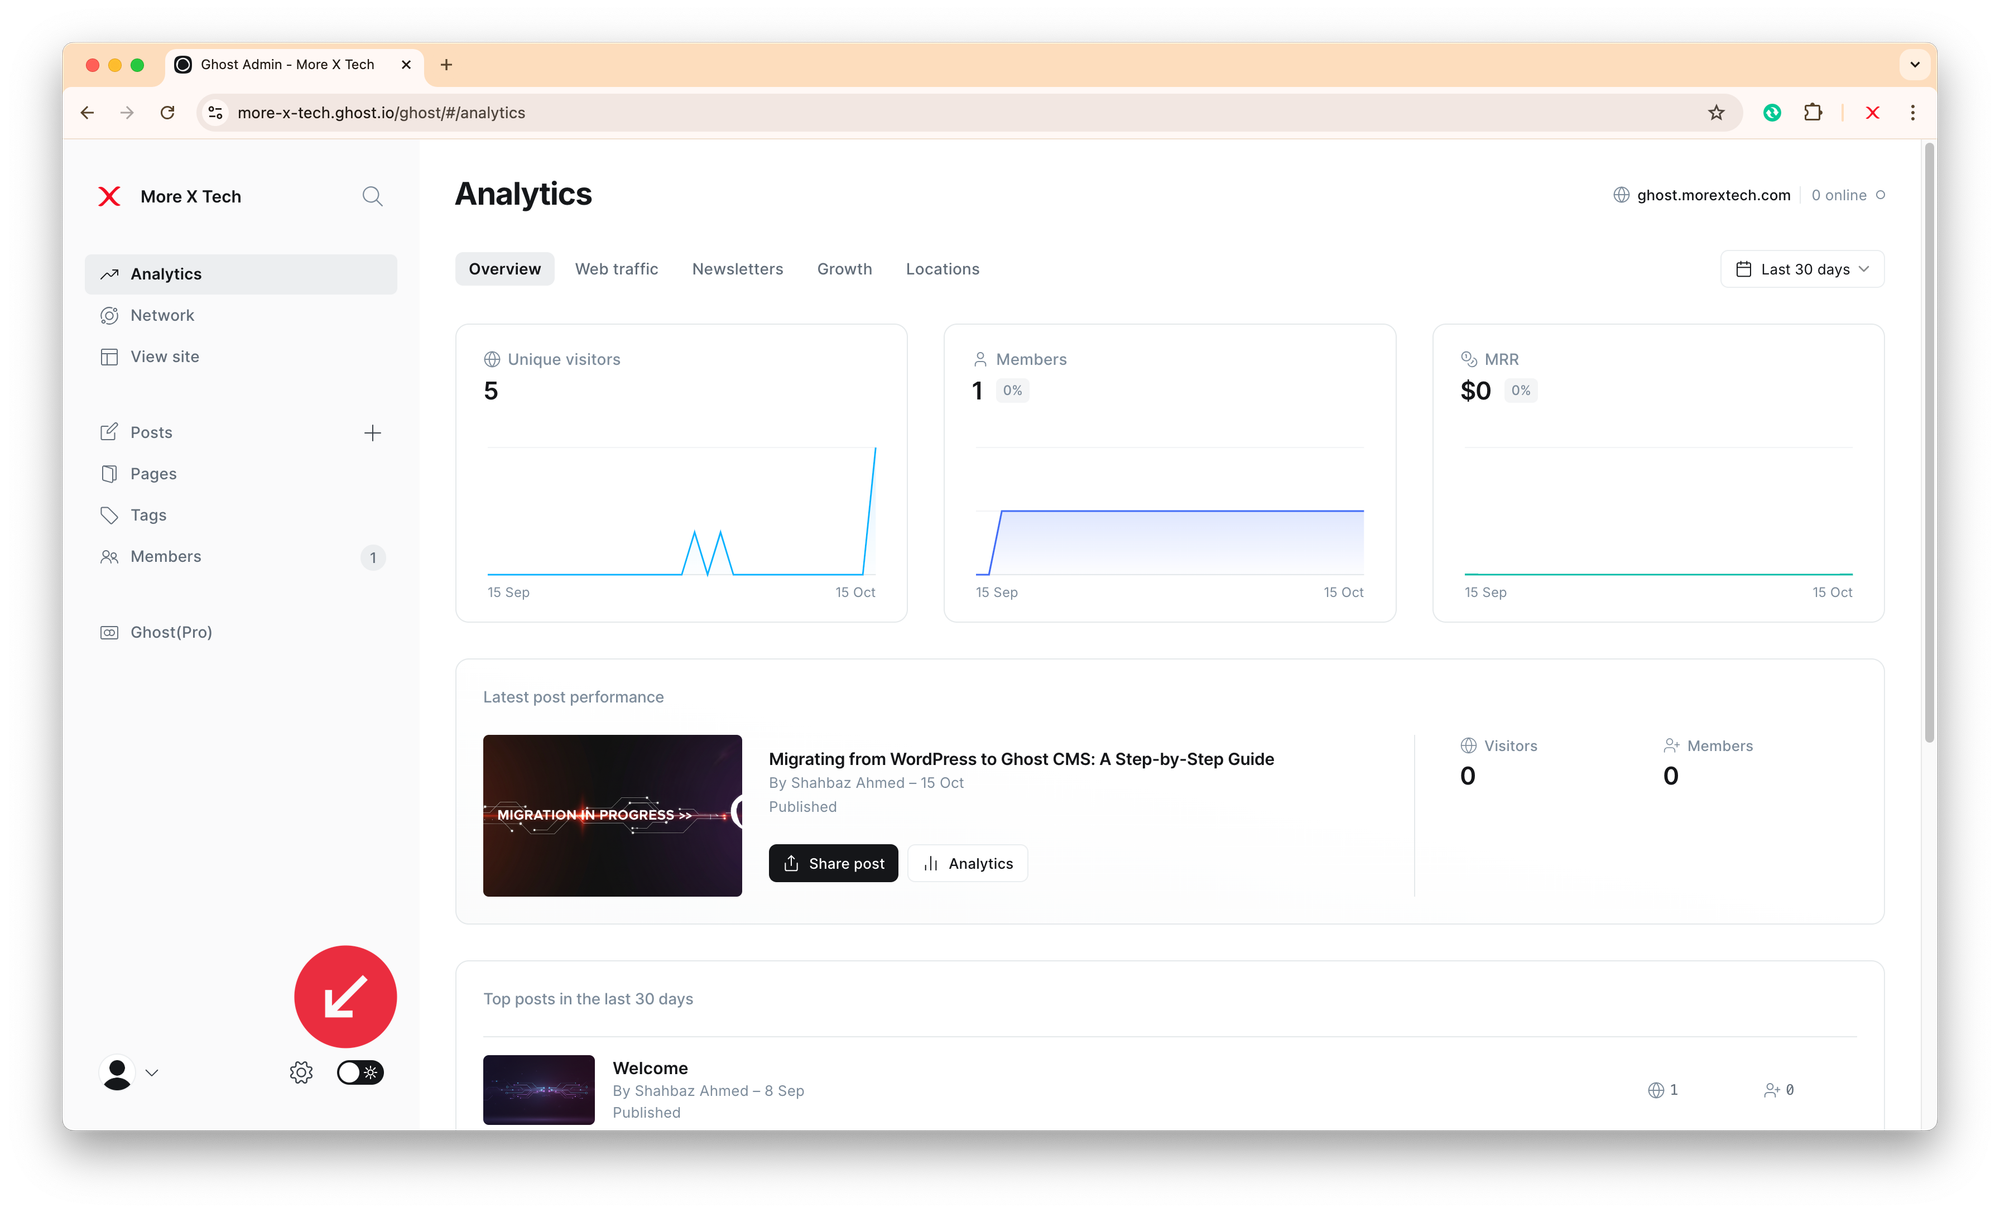
Step 5: Optimise Your Site Settings
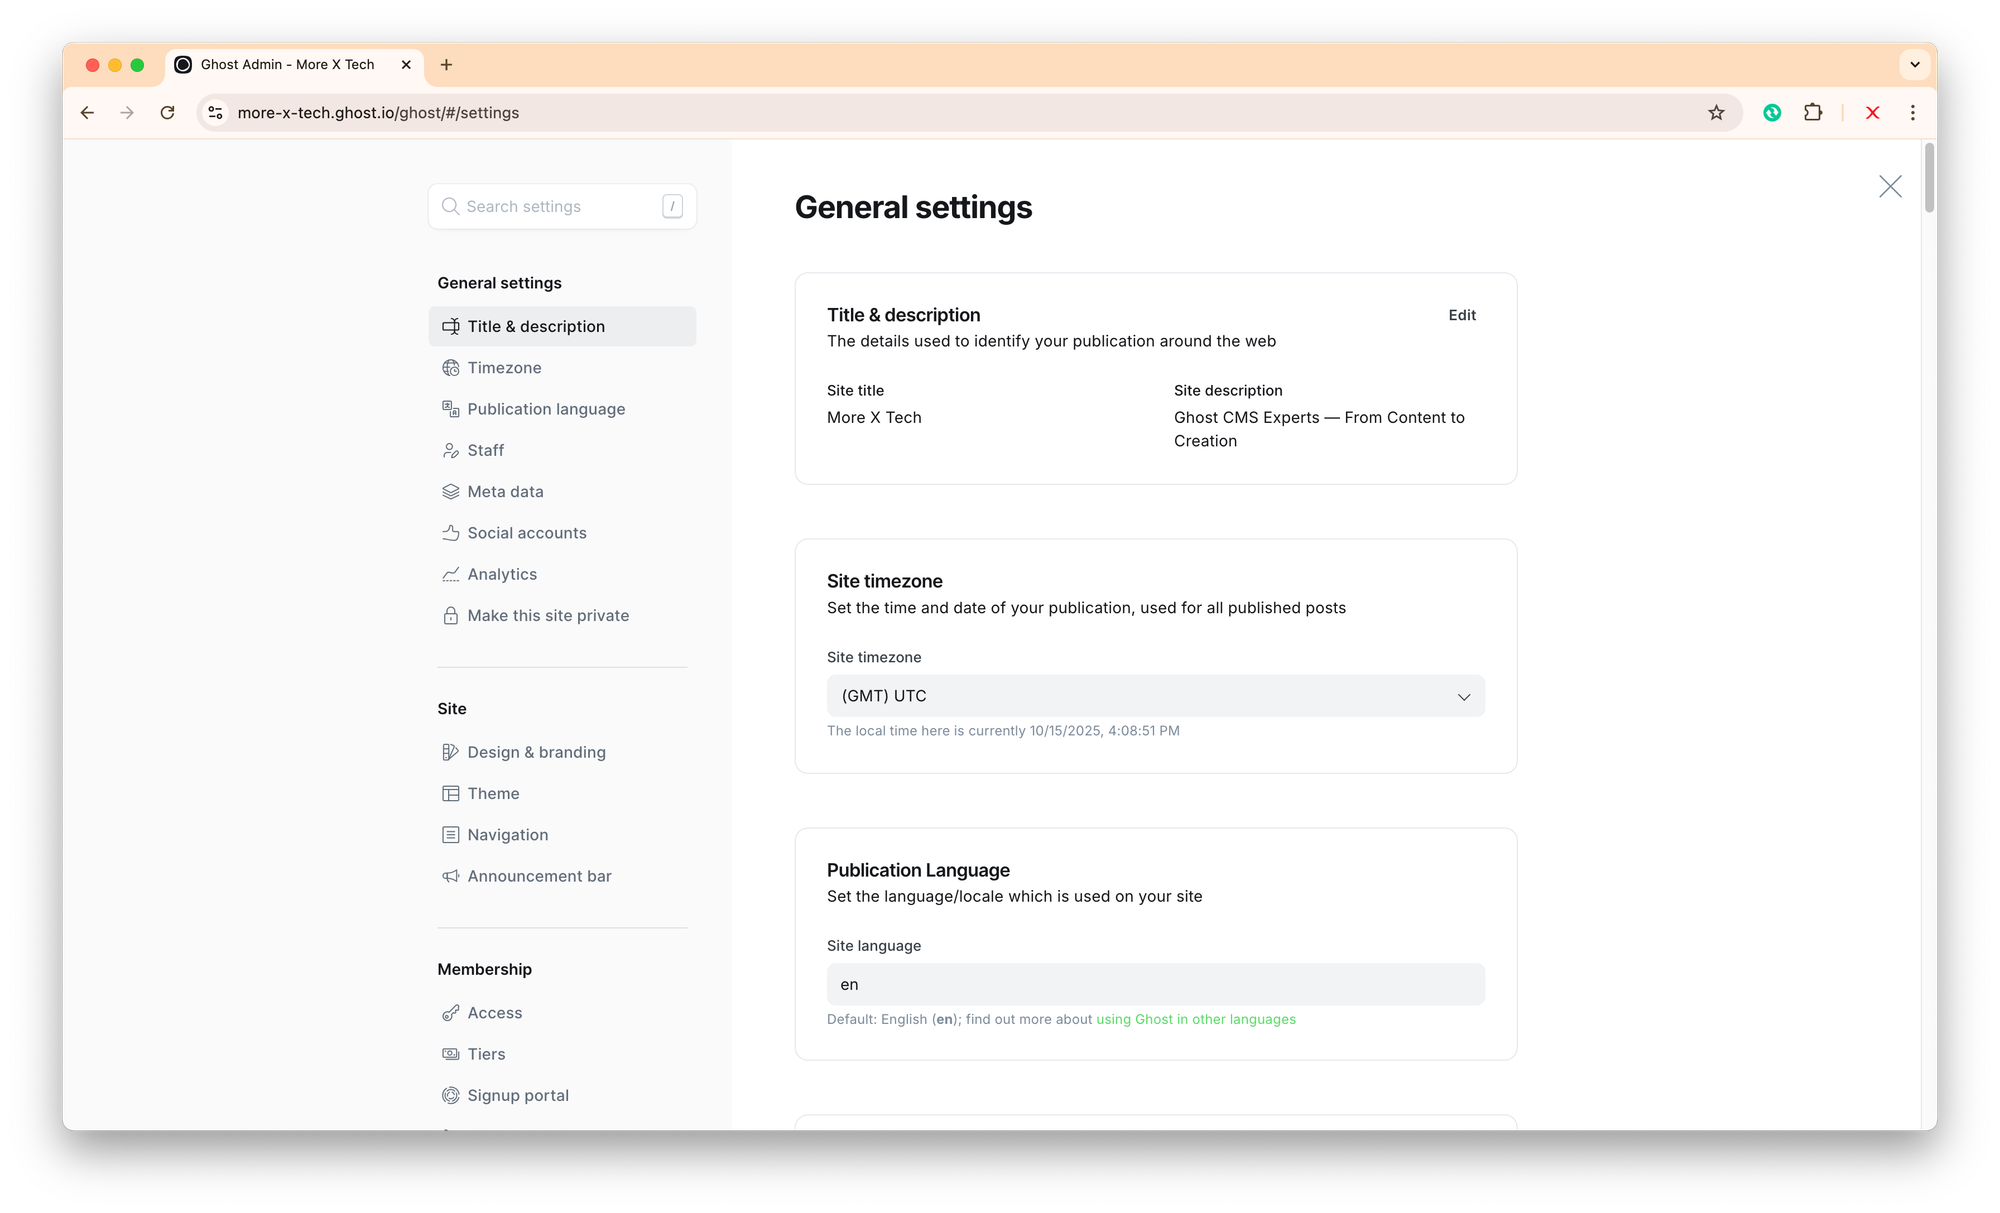
Once your Ghost CMS is live on your root domain, configure the basics from Settings (⚙️) on bottom left corner:
🧱 General Settings
- Site title & description: Add your brand name and mission statement.
- Publication icon: Upload your favicon (recommended size 512×512).
- Publication logo: Keep it within 150px height for best header balance.
- Accent colour: Match your brand palette (e.g. More X Tech uses purple #6E44FF).

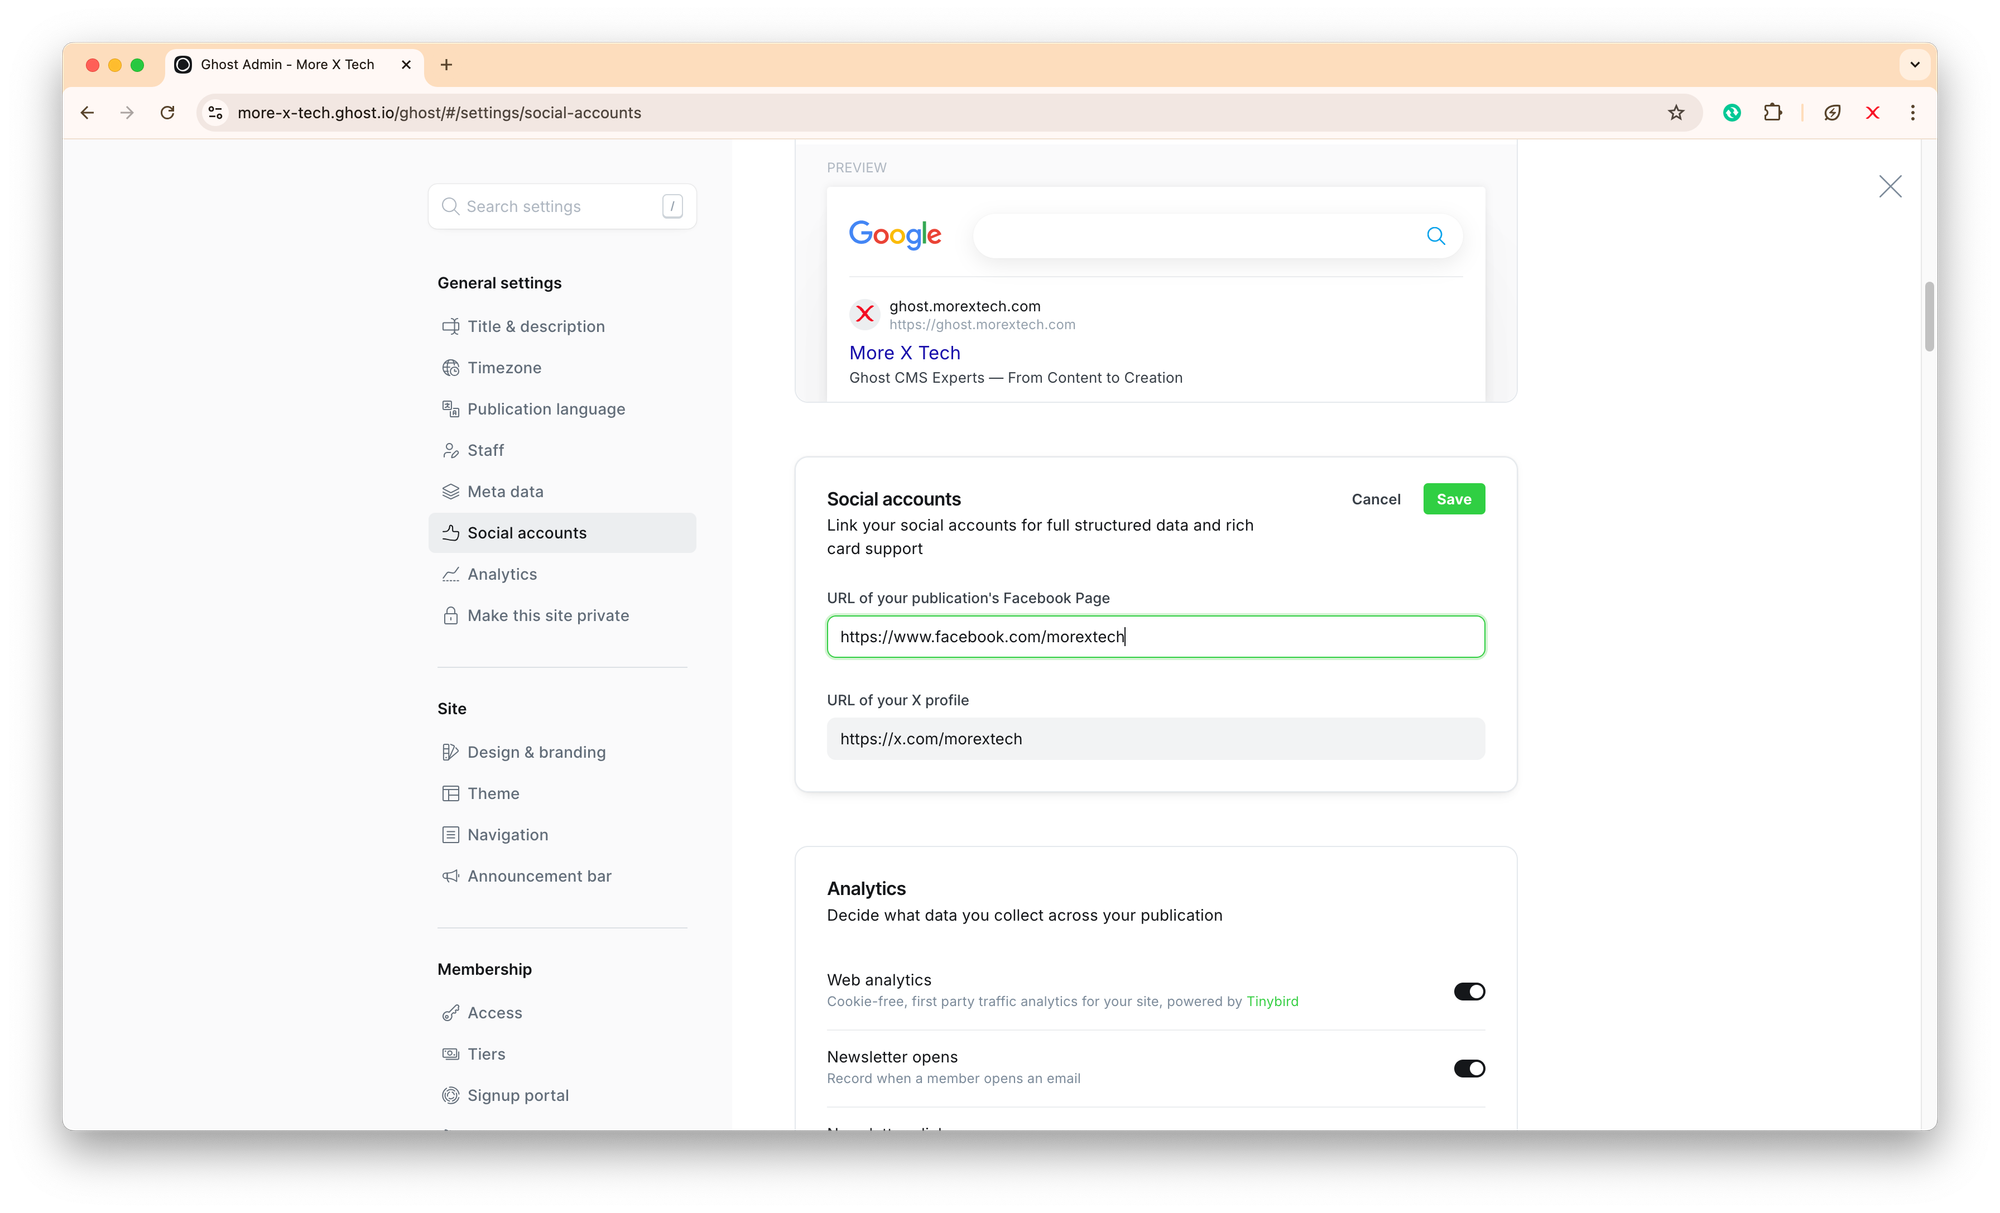
🔗 Social Accounts
Add your Twitter (X), Facebook, or LinkedIn URLs under Settings → Social Accounts.
This helps generate rich previews when sharing your posts.
📈 Analytics
Integrate Google Analytics or Cloudflare Web Analytics:
- Go to Settings → Code Injection → Site Header
- Paste your analytics tracking code.
🧩 Connecting Ghost CMS to Google Analytics
Step 6: Configure Email and Newsletters (Optional)
If you plan to use Ghost’s built-in newsletter system:
- Go to Settings → Newsletters.
- If you have verified your sending domain as in Step 3 (sub-step 5) as discussed above (screenshot below), your custom sending domain will be used. Otherwise, it will be sent from an official ghost email address — Ghost(Pro) uses Mailgun automatically.
Step 7: Performance & Security Best Practices
Ghost + Cloudflare is a strong combination, but here are a few tweaks to enhance it:
- Enable Auto Minify (HTML, CSS, JS) in Cloudflare → Speed → Optimisation.
- Turn on Brotli compression for faster load times.
- Set Always Use HTTPS under SSL/TLS → Edge Certificates.
- Use Caching Level: Standard in Cloudflare for balanced performance.
Common Issues and Troubleshooting
| Issue | Possible Cause | Solution |
|---|---|---|
| Domain not resolving | DNS not propagated | Wait 10–30 mins or clear cache |
| SSL error | Mixed HTTPS setup | Set SSL/TLS mode to Full (Strict) |
| Redirect loop | “Always Use HTTPS” + Page Rules conflict | Remove extra redirect rule |
| Site shows old subdomain | Clear browser cache | Confirm A record points to root domain |
SEO & Next Steps
Now that your Ghost site is online, take a few minutes to optimise it for search visibility:
- Add a custom meta description and OG image under Settings → General.
- Submit your domain to Google Search Console.
- Create a content strategy or content marketing plan.
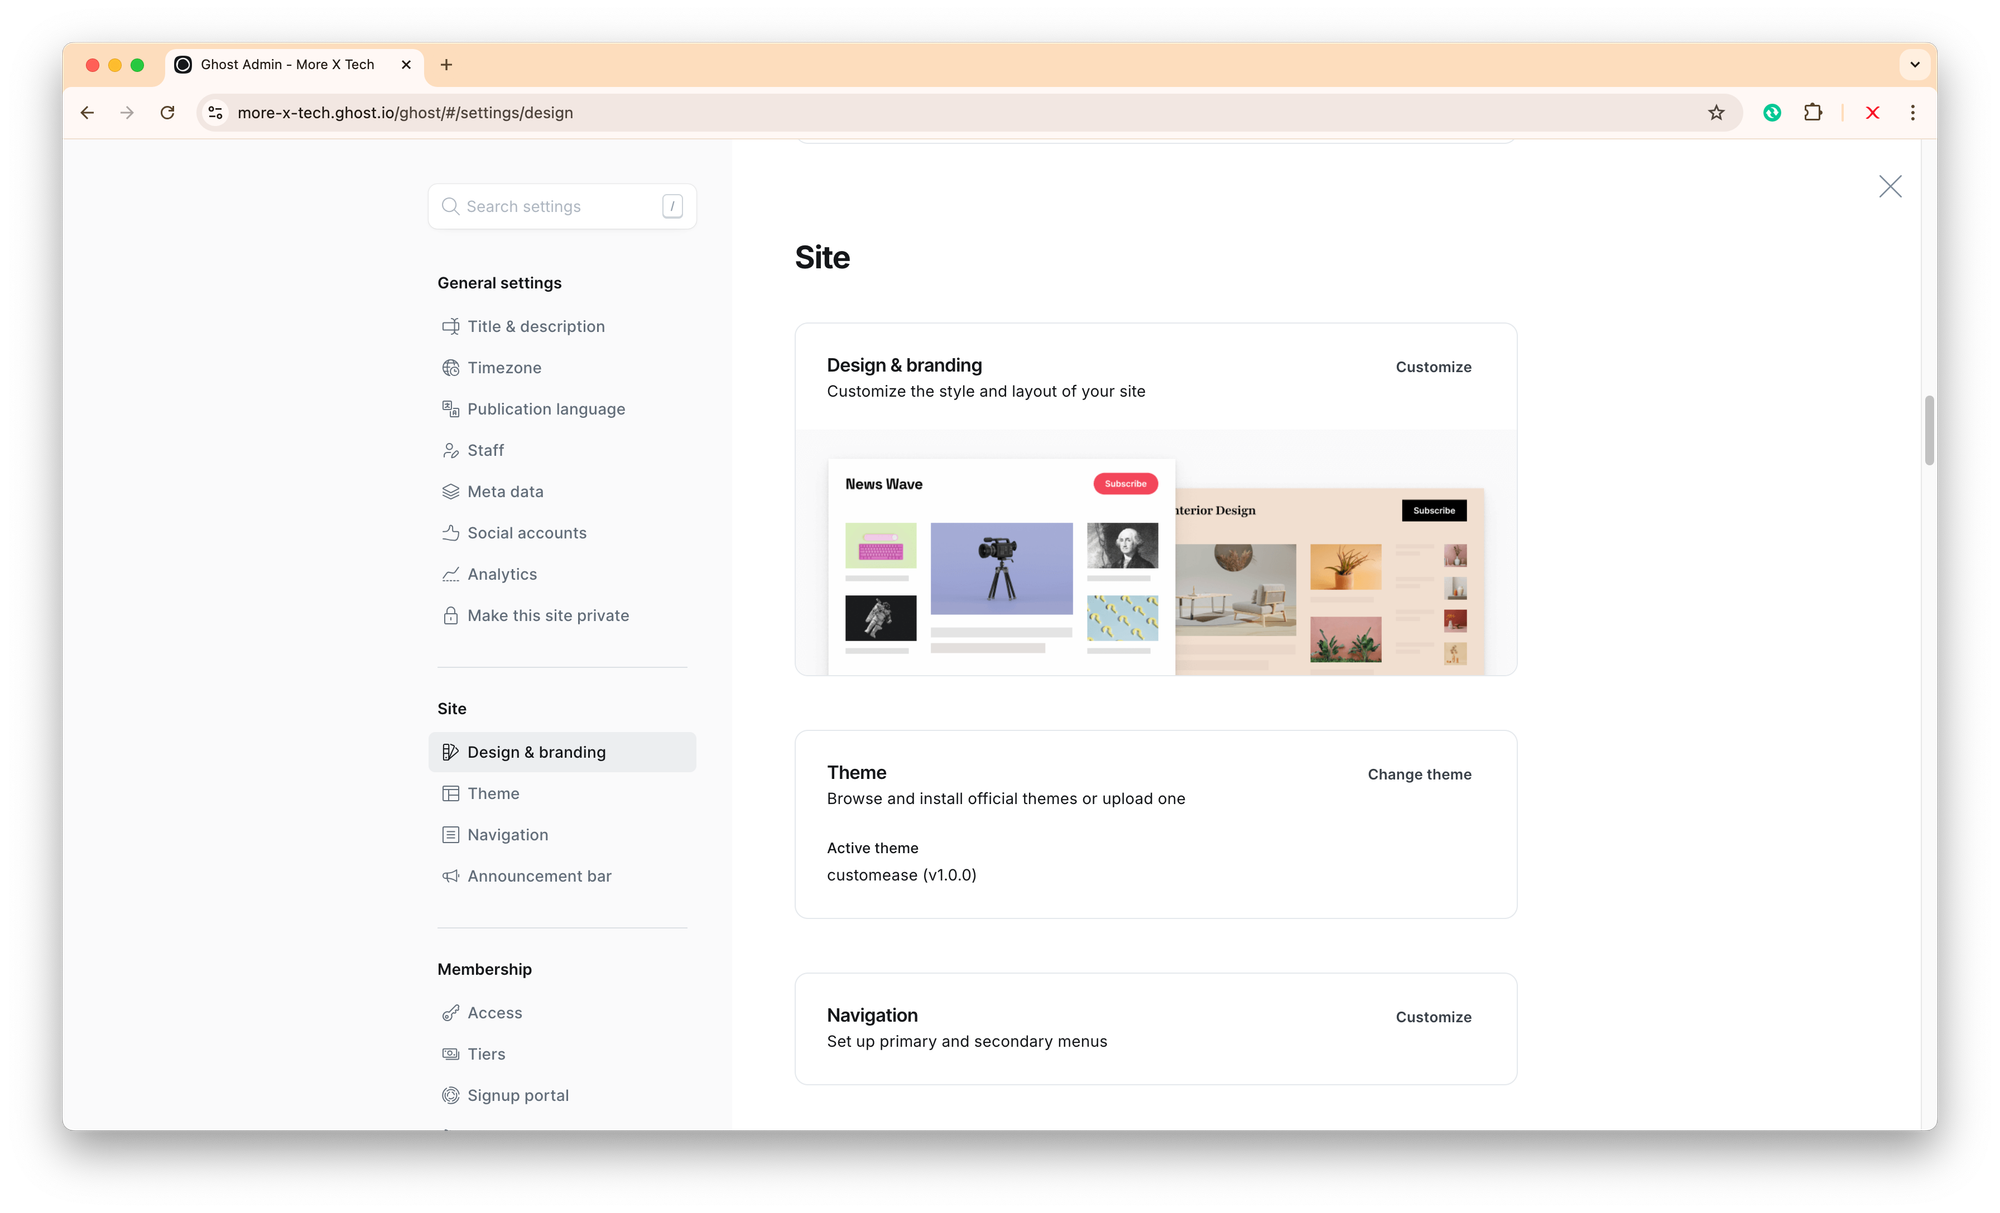
- Explore themes for branding: Ghost CMS Themes.
Conclusion
Setting up Ghost CMS with Cloudflare for your root domain is straightforward once you understand the workflow. In less than half an hour, you can have a professional-grade publication that’s secure, fast, and optimised for SEO.
If you’re new to Ghost or want help with setup, design, or optimisation, More X Tech offers three support tiers designed for creators like you:
- Essential — A few edits or setup changes per month (£20)
- Professional — Ongoing guidance and up to 5 customisations (£50)
- Partner — Full support with advanced Ghost development (£100)